
Blog
How to Optimize Food Photography for the Web
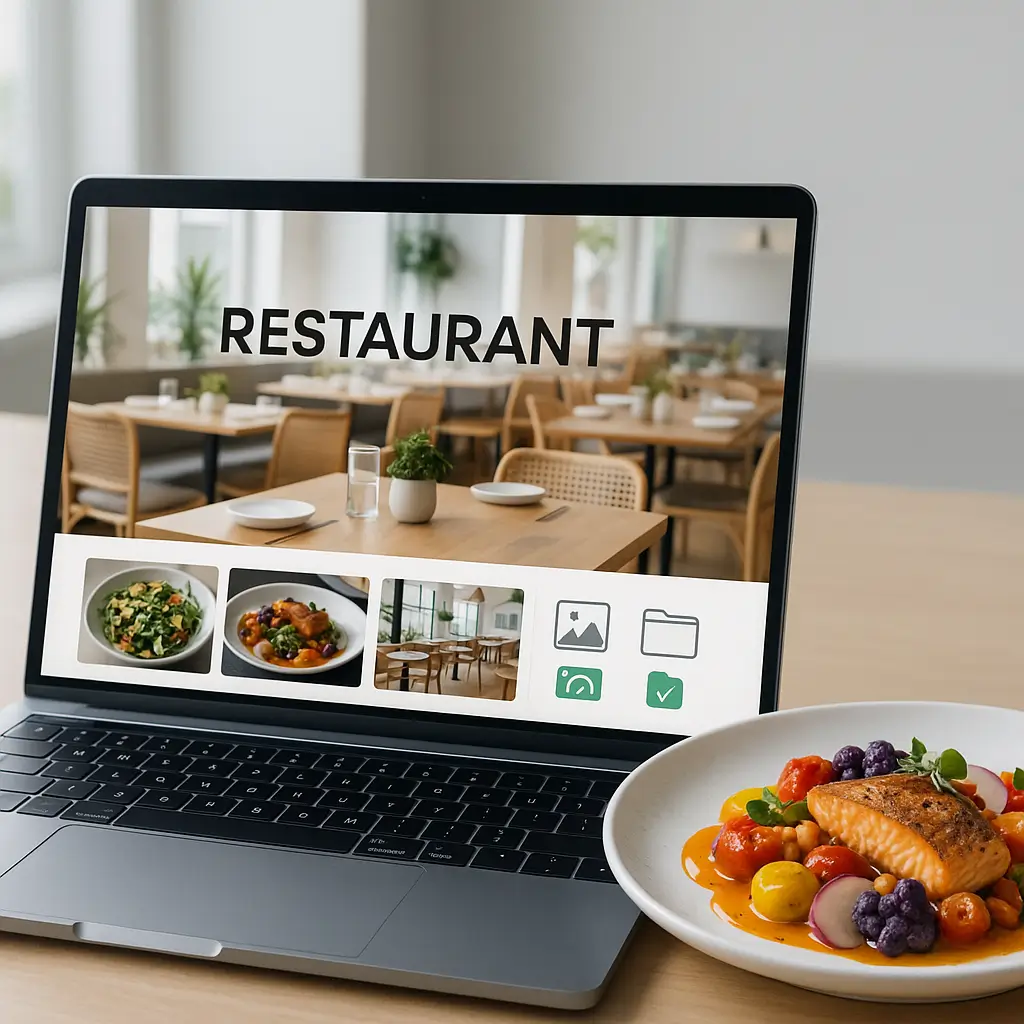
Your food photos can look delicious and still quietly wreck your website speed.
Restaurant websites, bakery sites, catering portfolios, meal prep shops, and food blogs all have the same problem: images sell the experience, but oversized images make people wait. On mobile, that wait can be the difference between someone placing an order and going back to Google.
The goal is not to make your food photography tiny or dull. The goal is to keep the colour, texture, and appetite appeal while removing all the unnecessary weight from the image file.
Why Food Photography Needs Special Care
Food photos are different from basic website images. A photo of a salad, steak, latte, or cake depends heavily on colour, detail, contrast, and texture.
If you compress a staff headshot too much, it may still be acceptable. If you overcompress a close-up of crispy fries or a glossy dessert, people notice immediately.
Food images also tend to be used in performance-heavy places:
- Homepage hero banners
- Menu pages
- Online ordering systems
- Photo galleries
- Instagram-style grids
- Blog recipes
- WooCommerce product pages
That means one bad image workflow can slow down your entire WordPress site.
Good rule of thumb: optimize food photos enough that pages load quickly, but not so aggressively that the food stops looking fresh, crisp, and appetizing.
Start Before Uploading to WordPress
The biggest mistake is uploading camera-original files directly into WordPress. Modern cameras and phones can produce large images intended for printing, cropping, and editing, not immediate website use.
WordPress can generate smaller image sizes, but it is not a magic fix for a poor upload workflow. If the original file is huge, your backups get larger, media library gets messier, and image optimization plugins have more work to do.
Resize Images to Real Website Dimensions
Most food photos do not need to be uploaded at their full camera resolution. A dish photo used in a menu card, blog post, or gallery usually does not need to be thousands of pixels wide.
Before uploading, think about where the image will appear:
- Homepage hero image: large enough for desktop screens, but cropped carefully for mobile.
- Menu item photo: usually much smaller than a full-width banner.
- Blog image: sized to match the content width of your theme.
- Gallery thumbnail: should not load the full-size image unless someone opens it.
- WooCommerce product image: should be consistent across products so the layout stays clean.
If you are not sure what sizes your theme uses, inspect a few images on the live site or ask your web designer. Guessing often leads to images that are either too small and blurry or much larger than needed.
Crop for Mobile, Not Just Desktop
Food photography often looks great in a wide desktop banner but awkward on a phone. A burger might be perfectly centred on desktop, then half-cut off on mobile because the theme crops the image differently.
When choosing hero images, avoid placing the main dish at the extreme left or right edge. Keep the important part of the food closer to the centre so it survives responsive cropping.
For restaurant websites, mobile matters more than many owners realize. People are often checking menus from the sidewalk, in a parked car, or while comparing nearby options. For more on this, see Mobile Optimization for Restaurant Websites.
Use the Right Image Format
Image format has a big impact on both quality and file size. The best format depends on the type of image and where it appears.
JPEG
JPEG is still a practical format for many food photos. It handles complex colours, gradients, and real-world photography well.
Use JPEG when you need broad compatibility and the image has lots of natural detail. Just avoid saving the same JPEG repeatedly at lower quality, because each save can reduce quality further.
WebP
WebP is widely used for modern websites because it often creates smaller files than JPEG at similar visual quality. Many WordPress optimization plugins can generate WebP versions automatically.
For most restaurant and food business websites, WebP is a strong default choice. Just make sure your setup serves fallback formats where needed, especially if your plugin or CDN handles format conversion.
AVIF
AVIF can produce excellent compression, but compatibility and workflows can be more complicated depending on your hosting, CDN, plugin, and visitor browser mix.
AVIF can be useful, but do not use it as your only image format unless you know your site handles fallbacks correctly. If you are not technical, WebP is usually the safer first step.
PNG
PNG is not ideal for most food photography. It is better for logos, icons, graphics, or images requiring transparency.
If you upload food photos as PNGs, file sizes can become unnecessarily large. Convert photographic PNGs to JPEG or WebP unless transparency is truly required.
Compress Images Without Making Food Look Bad
Compression removes data from an image file to make it smaller. Done well, visitors cannot tell the difference. Done badly, sauces look blotchy, bread loses texture, and shadows turn muddy.
Most image optimization tools let you choose between lossless and lossy compression.
- Lossless compression: smaller savings, but preserves the image more carefully.
- Lossy compression: bigger savings, but may reduce visible quality if pushed too far.
For food photography, moderate lossy compression is often fine. Extreme lossy compression is risky, especially for close-ups, dark restaurant interiors, drinks, baked goods, and plated dishes with subtle textures.
Test Compression on Real Photos
Do not choose compression settings blindly. Pick a few representative images and compare before and after versions.
Test different types of food photos:
- A bright dish on a white plate
- A dark drink or cocktail photo
- A close-up of crispy or flaky texture
- A colourful salad or dessert
- A restaurant interior or table scene
Zoom in, but also view the image at normal size on your phone. Visitors are not inspecting pixels with a magnifying glass, but they will notice if the photo looks cheap or fuzzy.
Be Careful With Bulk Optimization
Bulk image optimization is convenient, but it can also create problems if you run it without a backup. Some tools replace original images, while others keep backups depending on settings.
Before optimizing hundreds or thousands of images, make sure your site has a recent backup. If your food gallery suddenly looks overcompressed, you want a way back.
This is especially important for established restaurant sites, food blogs, catering portfolios, and WooCommerce food stores. If you rely on online orders or bookings, test major image changes during quieter hours.
If you are making bigger changes, a staging site is safer than experimenting on the live website. Ambrite’s WordPress maintenance plans start from $49/month CAD and can help with updates, backups, security monitoring, and speed checks for Canadian small businesses.
Optimize the Homepage Hero Image
The homepage hero image is often the largest image on a food website. It is also commonly part of the Largest Contentful Paint measurement, which affects perceived speed and Core Web Vitals.
A beautiful hero image can work well, but only if it is prepared properly.
Hero Image Best Practices
- Use one strong image instead of a rotating slider whenever possible.
- Crop the image intentionally for desktop and mobile.
- Compress it carefully, not aggressively.
- Do not lazy-load the main above-the-fold hero image.
- Avoid placing important text inside the image itself.
- Keep dark overlays subtle so the food still looks appealing.
Sliders are tempting because they let you show several dishes at once. The tradeoff is that they often load multiple large images, extra JavaScript, and animation effects before the visitor even reads the page.
If you must use a slider, limit the number of slides and optimize each image carefully. But in many cases, one excellent hero image plus clear buttons for “View Menu,” “Order Online,” or “Reserve a Table” performs better.
Use Lazy Loading Correctly
Lazy loading delays image loading until the visitor gets close to that part of the page. This is very helpful for long menus, recipe posts, galleries, and image-heavy landing pages.
But lazy loading is not always good. You generally do not want to lazy-load the main image visitors see immediately at the top of the page.
Lazy loading is best for:
- Menu photos lower on the page
- Gallery images
- Related recipe thumbnails
- Blog images below the first screen
- Customer event photos
Lazy loading can be built into WordPress, handled by performance plugins, or managed by your theme. For a deeper explanation, see WordPress Lazy Loading: Setup and Best Practices.
Keep Menu Pages Lightweight
Food businesses often want a photo beside every menu item. That can work, but it needs planning.
A menu page with 80 full-size dish photos can become painfully slow, especially on mobile data. It can also make the page harder to scan if every item competes visually.
Smarter Menu Image Options
- Use photos only for signature dishes, specials, or high-margin items.
- Group items into categories with one strong category image.
- Use smaller thumbnails that open larger versions only when clicked.
- Keep image dimensions consistent so the menu layout does not jump around.
- Avoid uploading PDF menus as the only option, especially if they contain large unoptimized images.
For restaurants, the website menu should be easy to update without breaking layout or speed. If menu changes are a regular task, this article may help too: How to Update Your Menu Without Breaking Your Site.
Use Descriptive File Names and Alt Text
Before uploading, rename image files so they describe the photo. A file named spicy-chicken-ramen-toronto.jpg is more useful than IMG_4821.jpg.
Do not stuff keywords into every image name. Keep it natural and accurate.
Alt text should describe the image for people who cannot see it. It can also help search engines understand the page, but accessibility comes first.
Good Alt Text Examples
- “Margherita pizza with basil and melted mozzarella”
- “Chocolate layer cake slice on a white plate”
- “Catered charcuterie board with cheeses, grapes, and crackers”
- “Iced latte served in a clear glass on a wooden table”
Weak Alt Text Examples
- “Food”
- “Best restaurant Toronto pizza pasta dinner near me”
- “Image”
- “Delicious delicious delicious burger”
If your Canadian business serves customers in both English and French, think about whether key pages need bilingual content and image descriptions. This is not just an SEO consideration. It can affect usability for real customers.
Remove Unnecessary Metadata
Photos can contain metadata such as camera settings, GPS location, editing software details, and timestamps. Some of this is harmless, but it usually does not need to be served to every website visitor.
Stripping unnecessary metadata can reduce file size slightly and may help avoid sharing information you did not intend to publish.
This matters more than people think. A restaurant owner taking behind-the-scenes photos on a phone might accidentally include location data. A catering company may photograph private events where client privacy matters.
For Canadian businesses, be mindful when photos include identifiable people, private venues, or customer events. Get permission where appropriate, and avoid using images that reveal personal information without consent.
Use Consistent Aspect Ratios
Food galleries look messy when every image has a different shape. One photo is tall, the next is square, the next is wide, and the page becomes visually uneven.
Choose a few standard aspect ratios and stick with them:
- Square: useful for menu cards, product grids, and social-style layouts.
- 4:3: good for general food photography and blog images.
- 16:9: useful for banners and wide hero sections.
- Portrait: good for editorial shots, but harder to use in some grids.
Consistency helps performance too, because your theme can reserve the correct image space more reliably. That reduces layout shifting while the page loads.
Do Not Forget Colour
Food photography depends on colour accuracy. If a salad looks grey or a steak looks strange, optimization has gone too far or the image was exported incorrectly.
Use the sRGB colour profile for web images. This is the safest general option for consistent display across browsers and devices.
Also check your images on a phone, not just your editing monitor. Many customers will judge your food from a mobile screen.
Optimize Galleries and Portfolios
Galleries can become the heaviest pages on a food website. This is common for caterers, bakeries, wedding cake designers, food photographers, and restaurants with event spaces.
Instead of loading everything at once, use a gallery setup that supports thumbnails, pagination, filtering, or “load more” behaviour. The visitor does not need 120 full-size images downloaded immediately.
For gallery-heavy pages:
- Use thumbnail images for the grid.
- Load larger images only when someone opens them.
- Limit the number of images shown at first.
- Compress the large versions too, not only the thumbnails.
- Remove duplicate or outdated images.
Quality matters more than quantity. A tight gallery of 20 excellent food photos usually beats a slow gallery of 100 similar shots.
Choose Image Plugins Carefully
There are many WordPress image optimization plugins, including tools such as ShortPixel, Imagify, EWWW Image Optimizer, Smush, and others. Features and pricing change, so check each plugin’s official site for current details.
When comparing plugins, look for:
- WebP support
- Bulk optimization
- Original image backup options
- Control over compression strength
- Compatibility with your theme, CDN, and caching plugin
- Clear documentation
Do not install several image optimization plugins at once. They can overlap, duplicate work, or create confusing results.
If your site already uses LiteSpeed Cache on a LiteSpeed server, image optimization and page caching can work well together when configured properly. But avoid turning on every setting at once. Test changes gradually.
Pair Image Optimization With Caching
Optimized images help, but they are only one part of website speed. Caching, hosting, database health, plugin choices, and theme quality all matter too.
If your restaurant site is running on slow hosting, image optimization can only do so much. A faster server stack can make a noticeable difference, especially during lunch and dinner rushes when more people are checking menus or ordering online.
Ambrite’s cloud web hosting starts at $7.99/month CAD and uses LiteSpeed, NVMe SSD storage, and Imunify360 security protection. That kind of foundation helps image-heavy WordPress sites perform better than they would on crowded, underpowered hosting.
When Not to Compress More
There is a point where smaller is not better. If the image starts hurting trust, appetite, or brand perception, stop compressing.
Do not chase perfect speed scores at the expense of your best sales images. A fine dining restaurant, premium bakery, wedding caterer, or specialty food brand may need richer visuals than a simple text-based business site.
Be especially careful with:
- Hero images
- Signature dish photography
- Product photos for online ordering
- Catering portfolio images
- Photos used in ads or landing pages
For less important images, compress more aggressively. For your money shots, protect quality.
Do Not Let Social Media Be Your Image Strategy
Many food businesses rely heavily on Instagram or Facebook for visuals. That is useful, but social media images are not a replacement for properly optimized website images.
Images downloaded from social platforms may already be compressed, resized, or stripped of quality. Re-uploading them to your website can make them look worse.
Whenever possible, keep a folder of original edited images for your website. Export clean web versions from those originals instead of recycling compressed social media copies.
Build a Simple Food Photo Workflow
You do not need a complicated system. You just need a repeatable one.
Here is a practical workflow for most small food businesses:
- Choose the best photo, not ten similar ones.
- Edit colour, brightness, and crop first.
- Export in the correct dimensions for the website location.
- Use JPEG or WebP for food photography.
- Compress moderately and compare quality.
- Rename the file descriptively before uploading.
- Add useful alt text in WordPress.
- Check the page on mobile after publishing.
- Remove old or unused images from pages when they no longer help.
This workflow is simple enough for a restaurant manager, bakery owner, or marketing assistant to follow without needing to be a developer.
Watch for These Common Mistakes
- Uploading camera originals: they are usually far larger than needed.
- Using PNG for food photos: often creates unnecessarily large files.
- Overusing sliders: they can load multiple large images and slow the page.
- Lazy-loading the hero image: this can make the most important image appear slower.
- Skipping backups before bulk optimization: risky if the results look bad.
- Using vague alt text: bad for accessibility and not helpful for SEO.
- Letting galleries grow forever: more images are not always better.
- Ignoring mobile crops: food can look awkward or cut off on phones.
How Often Should You Review Food Images?
Review your key food images at least a few times per year in 2026, especially if your menu changes seasonally. Old photos can create confusion if customers arrive expecting dishes you no longer serve.
You should also review images after:
- A menu redesign
- A theme update
- A new online ordering setup
- A photoshoot
- A rebrand
- A noticeable drop in speed scores
- Customer complaints about the site being slow
Food photography is not a one-time task. As your menu and brand evolve, your images should stay current, optimized, and accurate.
Quick Checklist for Food Image Optimization
- Resize before uploading to WordPress.
- Use JPEG or WebP for most food photos.
- Avoid PNG unless transparency is needed.
- Keep hero images high quality but carefully compressed.
- Do not lazy-load above-the-fold hero images.
- Lazy-load galleries and lower-page images.
- Use descriptive file names.
- Write natural, useful alt text.
- Strip unnecessary metadata where appropriate.
- Use consistent aspect ratios.
- Test on mobile before calling the page finished.
- Back up before bulk optimization.
If your food website is image-heavy and slow, start with the homepage, menu page, and online ordering flow. Those are the pages most likely to affect calls, reservations, and sales.
Need help cleaning up a slow WordPress restaurant site or optimizing a large food gallery? You can contact Ambrite and we’ll take a practical look at what is slowing things down.
This article was written with the help of AI and reviewed by Ambrite. Pricing, features, and technical details may change. Always verify with official sources before making decisions.
Was this article useful?
Related Articles
Your WordPress site loads in 8 seconds on mobile. Meanwhile, your competitor's site loads in 2...
Running a restaurant in 2026 means juggling a thousand things at once. Your WordPress site...
Your WordPress site has 47 active plugins and takes 8 seconds to load. Sound familiar? Plugin...
Your real estate website is more than just a digital business card: it's a 24/7 sales machine...
Your staff page hasn't been updated since Jessica left in 2022, and your services page still...
