Blog
How to Restore a Hacked WordPress Site from Backup
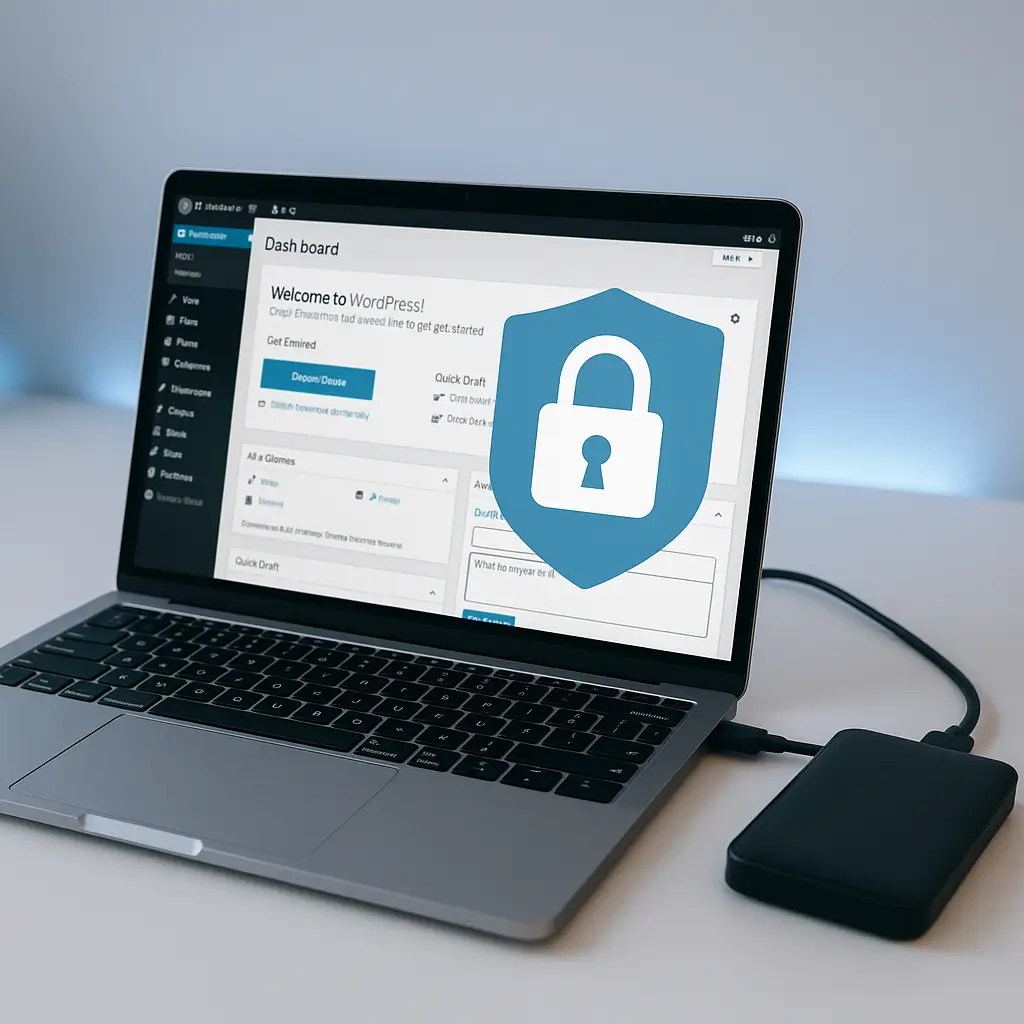 Discovering your WordPress site has been hacked is like finding your store's front window smashed — you need to act fast, but you also need to do it right. If you've got a recent backup (and you better have one), restoring from it can be the quickest way to get back online. But here's the catch: restore incorrectly and you'll be hacked again within hours.
Let me walk you through exactly how to restore a hacked WordPress site from backup without leaving the door open for hackers to waltz right back in.
Discovering your WordPress site has been hacked is like finding your store's front window smashed — you need to act fast, but you also need to do it right. If you've got a recent backup (and you better have one), restoring from it can be the quickest way to get back online. But here's the catch: restore incorrectly and you'll be hacked again within hours.
Let me walk you through exactly how to restore a hacked WordPress site from backup without leaving the door open for hackers to waltz right back in.
Before You Touch That Backup
Stop. I know you want to restore immediately, but rushing this process is how sites get re-hacked. First, you need to figure out when the hack happened and how they got in.
Check your backup dates carefully. If you restore from a backup that already contains the hack, you've accomplished nothing except wasting time. Look for these telltale signs in your backup history:
- Sudden size increases (malware files added)
- New user accounts you didn't create
- Modified core WordPress files
- Strange PHP files in your uploads folder
The hack might have happened weeks ago and only became visible recently. This is why knowing the signs of a hack matters — early detection means cleaner backups to restore from.
Gather Your Tools and Access
Before starting the restoration, make sure you have:
- FTP/SFTP access to your hosting account
- Database access (usually through phpMyAdmin)
- Your backup files (both files and database)
- A cup of coffee (this might take a while)
If you're on Ambrite's hosting, you'll have access to our backup system through your control panel. Most quality hosts provide similar access — if yours doesn't, that's a red flag.
Step 1: Create a Quarantine Copy
Don't delete your hacked site yet. Seriously. You might need it for evidence, insurance claims, or to figure out how they got in.
Create a folder called "quarantine-2026" (or whatever the current date is) and copy your entire WordPress installation there. Yes, it takes up space. Yes, it's worth it. You can delete it in a few weeks once everything's stable.
Step 2: Clean House Completely
Now comes the scary part — delete everything in your public_html or WordPress directory. And I mean everything. Don't try to save bits and pieces. Hackers are clever about hiding backdoors in innocent-looking files.
Common hiding spots include:
- Image files with PHP code appended
- Modified .htaccess files
- New folders with names like "css-old" or "backup2"
- JavaScript files with encoded malware
Delete it all. Your backup has the clean versions.
Step 3: Database Inspection Time
Here's where most people mess up — they restore the files but forget the database might be compromised too. Before restoring your database backup, create a fresh database with a new name.
Why? Because hackers often create database users or modify existing ones. Starting fresh ensures no lingering access. Your hosting control panel should let you create a new database easily.
When you restore the database backup:
- Check the users table for any accounts you don't recognize
- Look for weird entries in your options table
- Scan for encoded content in your posts (base64 strings are a red flag)
Step 4: Restore Files the Right Way
Upload your backup files to the now-empty directory. But don't just dump everything back — be strategic:
- Upload WordPress core files first
- Then your wp-content folder (themes, plugins, uploads)
- Finally, your wp-config.php (but wait, there's more to this)
Before uploading wp-config.php, open it and change these security keys:
- Database password (yes, create a new one)
- All the security salts (grab new ones from WordPress.org's generator)
- Table prefix if possible (requires database changes too)
Step 5: The Critical Security Audit
Your site's back online, but you're not done. This is where understanding why sites get hacked becomes crucial.
Run through this checklist immediately:
- Update WordPress core to the latest version
- Update ALL plugins (yes, even the deactivated ones)
- Update your theme
- Delete any plugins or themes you're not actively using
That last point is crucial. Every plugin is a potential entry point. If you're not using it, delete it. "But I might need it later" is how hackers think too.
Step 6: Lock Down Access
Change every password associated with your site:
- WordPress admin accounts (all of them)
- FTP/SFTP passwords
- Database passwords
- Hosting control panel password
- Email passwords (hackers often compromise these for password resets)
And please, use actual strong passwords. "MyBusiness2026!" isn't strong. Use a password manager and generate something properly random.
While you're at it, set up two-factor authentication. It's 2026 — if you're not using 2FA, you're basically leaving your keys in the ignition.
Finding and Fixing the Security Hole
Here's the uncomfortable truth: if you don't figure out how they got in, they'll be back. Common entry points include:
- Outdated plugins: The number one culprit. Check your plugin update history against known vulnerabilities.
- Nulled themes/plugins: If you downloaded a "free" premium theme from a sketchy site, that's probably your problem.
- Weak passwords: "admin/admin" or "yourbusinessname/password123" are basically welcome mats for hackers.
- Compromised computers: If your local computer has malware, it can steal FTP credentials.
Review your access logs around the time of the hack. Look for unusual activity patterns, multiple login attempts, or access from countries where you don't have customers.
Implement Ongoing Security Measures
Restoring from backup is treating the symptom. You need to cure the disease. Here's your new security routine:
Install a security plugin: Not five of them — that's overkill and slows your site. One good one, properly configured. On Ambrite hosting, Imunify360 provides server-level protection, but a WordPress-specific plugin adds another layer.
Set up monitoring: You need to know immediately if something goes wrong. Security monitoring catches problems before they become disasters.
Regular updates: I know updates can break things. But you know what breaks things worse? Hackers. Set aside time monthly for updates, or better yet, get a maintenance plan where professionals handle it.
Better backups: If your current backup system failed you, upgrade it. Good backups should be:
- Automatic (daily for active sites)
- Stored offsite (not on the same server)
- Actually restorable (test them!)
- Kept for at least 30 days
The Staging Site Strategy
Here's a pro tip most guides miss: after restoring, set up a staging site. Staging environments let you test updates before they hit your live site.
Why does this matter for security? Because rushed updates on live sites lead to broken functionality, which leads to disabled security plugins, which leads to... you guessed it, another hack.
When to Call in the Professionals
Sometimes DIY isn't the answer. Consider professional help if:
- The hack keeps coming back after restoration
- You're handling sensitive data (medical, legal, financial)
- You can't afford any downtime
- You found encrypted files you can't identify
- Your host suspended your account for sending spam
Professional malware removal services have tools and experience to find deeply hidden infections. Yes, it costs money. So does losing customers because your site keeps getting hacked.
Post-Restoration Checklist
Once your site's restored and secured, work through this final checklist:
- Test everything: Every form, every button, every payment process
- Check your SEO: Hackers often inject spam that tanks your rankings
- Review user accounts: Delete any you don't recognize
- Scan for malware: Use multiple tools — they catch different things
- Update your security contacts: Make sure alerts go to an email you actually check
Learning from the Experience
Getting hacked sucks. But it's also a wake-up call. Most Canadian small businesses think they're too small to be targeted — until they're not. The truth is, hackers use automated tools that don't care if you're Amazon or Al's Auto Repair.
Document what happened:
- When you first noticed the hack
- What type of hack it was
- How they likely got in
- What you've done to prevent it
This documentation helps if you need to make an insurance claim or explain the situation to customers. For Canadian businesses, you might also need this for PIPEDA compliance if customer data was potentially exposed.
The Backup Recovery Reality Check
Let's be honest about backup restoration. It's not always smooth sailing. Common hiccups include:
Database connection errors: Usually means your wp-config.php has the wrong credentials. Double-check everything, including the database host (sometimes it's not "localhost").
White screen of death: Often caused by PHP version mismatches. Make sure your restored site runs on the same PHP version as before.
Missing images: Check your upload folder permissions. They should typically be 755 for folders, 644 for files.
Broken plugins: Some plugins store absolute paths. You might need to deactivate and reactivate them.
Prevention: Your New Religion
Now that you've experienced the pain of restoration, let's make sure you never need to do it again. Your new security mantras:
"Updates are not optional." Schedule them. Do them. No excuses.
"Backups are only good if they work." Test your backups regularly. A backup you can't restore from is just wasted disk space.
"Every plugin is a potential problem." Be ruthless about what you install. Research developers. Check update frequencies. Read reviews.
"Security is ongoing, not one-time." Set monthly reminders to review your security. Check user accounts, review access logs, update everything.
The Bottom Line
Restoring a hacked WordPress site from backup is absolutely doable, but it's not just about copying files back. It's about understanding what went wrong, fixing the vulnerability, and implementing systems to prevent it from happening again.
The good news? Once you've been through this process, you'll have a much better understanding of WordPress security. The bad news? You had to learn it the hard way.
Take this experience and turn it into better practices. Set up proper monitoring. Maintain regular backups. Keep everything updated. And maybe consider getting professional help to maintain your site — because your time is probably better spent running your business than fighting hackers.
Remember: the best backup restoration is the one you never need to do. But when you do need it, following these steps will get you back online safely and help keep the hackers from returning for round two.
Need help? If you're overwhelmed by the restoration process or want to ensure your site stays secure, reach out to our team. We handle WordPress security and maintenance for Canadian businesses every day, and we'd be happy to help you recover from a hack or prevent one from happening in the first place.
This article was written with the help of AI and reviewed by the Ambrite team. Pricing, features, and technical details may change — always verify with official sources before making decisions.
Was this article useful?
Related Articles
Your website collects personal information from visitors — even just their IP address counts....
Two-factor authentication (2FA) is like adding a deadbolt to your WordPress admin door — and in...
That outdated WooCommerce shipping plugin you've been meaning to update? It's probably already...
Your website just got hacked. The sinking feeling in your stomach is real — and it should be. A...
Your law firm's website handles sensitive client data every single day. One security breach...
