
Blog
How to Test Your Online Ordering Checkout
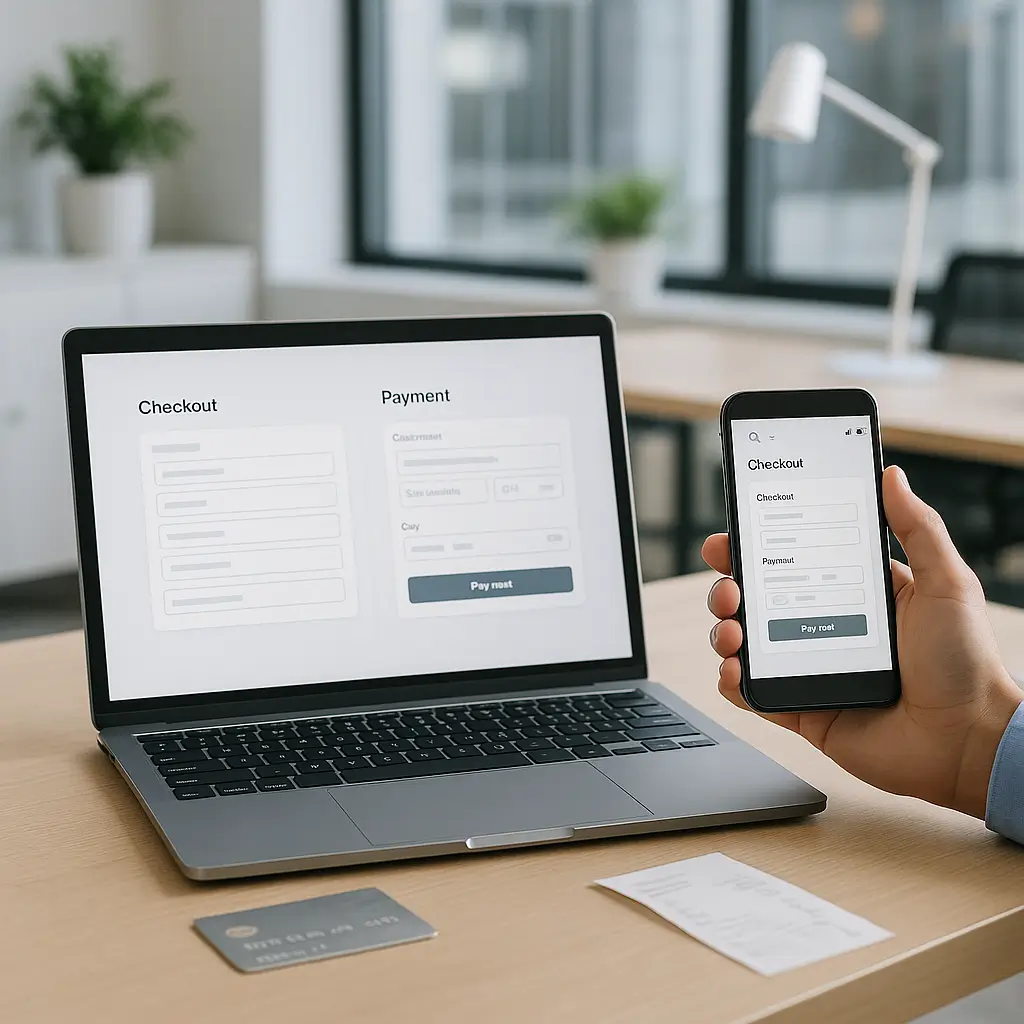
A checkout can look perfectly fine right up until the moment customers stop being able to pay.
That is why testing your online ordering checkout should be part of regular WordPress maintenance, not something you only do after a customer complains. For restaurants, retail shops, bakeries, service businesses, and local stores, a broken checkout is not a small technical issue. It is lost revenue, frustrated customers, and sometimes a pile of missed orders you never even knew existed.
This guide walks through how to test your checkout properly, what to look for, when to test on a staging site, and when a real live test is worth doing.
What Counts as an “Online Ordering Checkout”?
For most WordPress sites, the checkout is the part of your website where someone places an order, books a paid service, buys a product, pays a deposit, or submits payment information.
That might include:
- A WooCommerce checkout
- A restaurant online ordering plugin
- A booking plugin with payment collection
- A quote-to-payment workflow
- A membership signup checkout
- A donation or deposit payment form
- A third-party embedded ordering system
The more plugins involved, the more things can go wrong. A typical checkout may depend on your theme, cart plugin, payment gateway, tax settings, shipping rules, email delivery, caching, security tools, and sometimes third-party APIs.
If you already have online ordering in place, you may also find this related guide useful: How to Keep Your Online Ordering System Running.
Why Checkout Testing Matters
Checkout issues are often invisible to the site owner. Your homepage loads, your menu or products appear, and everything looks normal. But the customer may be stuck at payment, missing shipping options, unable to choose pickup time, or never receiving confirmation.
Common checkout problems include:
- Credit card payments failing without a clear error
- Apple Pay, Google Pay, or PayPal buttons not loading
- Taxes calculating incorrectly
- Delivery zones not matching real customer addresses
- Pickup times showing when the business is closed
- Coupon codes applying incorrectly
- Confirmation emails landing in spam
- Orders appearing as unpaid even after payment
- Mobile users being unable to complete checkout
- Caching serving old cart or checkout data
None of these issues are dramatic on their own. But if they sit unnoticed for a week, the cost adds up quickly.
Start with a Backup Before Testing
Before you touch checkout settings, run updates, change payment options, or test new plugins, make sure you have a current backup.
This is especially true for WooCommerce and other ordering systems because they store active customer orders, product data, tax settings, coupons, and payment-related records. A bad plugin update or rushed setting change can affect more than the page layout.
At minimum, make sure you have:
- A recent database backup
- A recent file backup
- A way to restore the site if something breaks
- A record of what settings you changed
Tip: Do not assume your backup works just because a plugin says it completed. A backup is only useful if it can be restored successfully.
Use a Staging Site When Possible
A staging site is a private copy of your website where you can test changes without affecting customers. For checkout testing, staging is especially useful before plugin updates, theme changes, payment gateway changes, or major menu/product edits.
Staging is the safer place to test:
- WooCommerce updates
- Payment plugin updates
- Theme changes that affect cart or checkout pages
- New shipping or delivery plugins
- Restaurant ordering plugin changes
- Large product imports
- Checkout field customizations
There is one catch: staging sites do not always behave exactly like live sites. Payment gateways, email sending, API keys, delivery integrations, and webhook notifications may work differently in a test environment.
That is why staging is great for layout, workflow, and compatibility testing, but you may still need a small live transaction to confirm the real payment flow. For more detail, see WooCommerce Staging: Why You Need a Test Site.
Test the Full Customer Journey
Do not just click the checkout page and call it done. Test like a real customer who has never used your site before.
A proper checkout test should start from the homepage or menu/product page and end with an order confirmation.
1. Test Product or Menu Selection
Start by adding items to the cart. If you run a restaurant, test different menu categories, modifiers, add-ons, special instructions, and combo options.
If you sell products, test variations such as size, colour, quantity, bundles, and sale items.
Watch for:
- Items not adding to cart
- Wrong prices showing in the cart
- Required options not being required
- Add-ons not increasing the price
- Out-of-stock items still being purchasable
- Product photos or descriptions not matching the item
This is where many ordering issues begin. The checkout may technically work, but the order itself may be wrong.
2. Test Cart Behaviour
Once items are in the cart, change quantities, remove items, add more products, and refresh the page.
Your cart should update cleanly without strange totals, duplicate items, or disappearing products.
Pay close attention if your site uses caching. Cart and checkout pages should usually be excluded from aggressive page caching because they contain customer-specific information. If one customer sees another customer’s cart, that is a serious problem.
3. Test Guest Checkout and Account Checkout
If your site allows guest checkout, test it. Many customers do not want to create an account just to order dinner, buy one product, or pay a deposit.
If your site requires accounts, test login, password reset, account creation, and checkout after logging in.
Look for friction. If the account process is annoying, unclear, or broken on mobile, customers may abandon the order before they reach payment.
4. Test Required Checkout Fields
Fill out checkout fields the way a real customer would. Then intentionally leave some required fields blank to see what happens.
The site should clearly explain what is missing. Vague errors like “checkout failed” are not helpful.
Check fields such as:
- Name
- Email address
- Phone number
- Billing address
- Delivery address
- Postal code
- Pickup time
- Delivery notes
- Special instructions
For Canadian customers, postal code formatting matters. Some customers type a space, some do not, and some use lowercase letters. Your checkout should handle normal variations gracefully.
Test Taxes Carefully
Canadian tax rules can be more complicated than they look, especially if you sell across provinces.
Depending on your business and what you sell, you may need to handle GST, HST, PST, QST, or other tax rules. Do not guess. Confirm your tax obligations with your accountant or tax professional.
From a website testing perspective, check that:
- Tax appears when it should
- Tax does not appear when it should not
- The correct province affects the tax calculation
- Pickup and delivery orders behave correctly
- Digital and physical products are handled appropriately
- Tax is shown clearly before payment
Run test orders using addresses from more than one province if you sell nationally. If your store only serves a local area, test the cities, postal codes, and delivery zones you actually serve.
Test Shipping, Delivery, and Pickup
Shipping and delivery logic is one of the easiest places to lose customers.
For restaurants, test pickup, delivery, scheduled orders, ASAP orders, delivery fees, minimum order amounts, and closed hours. Try ordering outside business hours and make sure the site does not promise something your team cannot fulfill.
For WooCommerce stores, test local pickup, flat-rate shipping, free shipping thresholds, and carrier-calculated rates if you use them.
If your store uses Canada Post rates, make sure the rates appear correctly for common shipping destinations and package types. You can also review How to Add Canada Post Shipping Rates to Your WooCommerce Store if shipping is part of your checkout flow.
Watch for these problems:
- No shipping methods available for valid addresses
- Free shipping applying too early
- Delivery zones excluding nearby customers
- Pickup showing when the location is closed
- Shipping rates that seem wildly too high or too low
- Customers able to select impossible delivery times
Test Payment Gateways
Payment testing needs care. You do not want to create confusion with real customers, trigger fraud filters, or leave test settings enabled by mistake.
Most payment gateways offer a test or sandbox mode. Use it when checking basic payment behaviour, especially on a staging site. Then, when appropriate, run a small live transaction on the real website to confirm that live payments, receipts, and order statuses work properly.
Common payment options include:
- Moneris
- Stripe
- Square
- PayPal
- Authorize.Net
- Interac-related payment options, depending on your provider
If you use Moneris for WooCommerce, this guide may help: How to Set Up Moneris Payment Processing on Your Canadian WooCommerce Store.
Always check the official payment gateway documentation for current setup steps. Payment providers change dashboards, security rules, API settings, and verification processes often enough that old instructions can become misleading.
What to Check During Payment Testing
When testing payments, confirm:
- The payment form loads correctly
- The page is secure over HTTPS
- Card fields are usable on mobile
- Failed payments show a clear message
- Successful payments create a completed or processing order as expected
- The customer receives a confirmation email
- The store owner receives an order notification
- The payment appears in the payment provider dashboard
- Refunds work if your team processes refunds through the site
Do not test with random card numbers on a live checkout. Use official test card details only in test mode, and check your payment provider’s documentation for the correct current testing process.
Test Confirmation Emails
A checkout is not truly working unless the right people are notified.
After placing a test order, check:
- Customer confirmation email
- Store admin email
- Kitchen or fulfillment email, if applicable
- Shipping notification, if applicable
- Pickup or delivery instructions
- Receipt details
Make sure the email includes the correct order items, customer details, totals, taxes, pickup time, delivery address, and payment status.
If emails are missing, delayed, or landing in spam, the checkout may be working technically but failing operationally. For a restaurant or service business, that can be just as damaging as a payment error.
Test on Mobile, Not Just Desktop
Many customers order from their phones. This is especially true for food ordering, local retail, emergency services, and last-minute bookings.
Test the checkout on at least one mobile device. If possible, test on both iPhone and Android, or ask someone on your team to test from a different device.
Check for:
- Buttons that are too small
- Payment fields cut off the screen
- Sticky headers covering checkout fields
- Address autocomplete behaving badly
- Slow-loading cart pages
- Popups blocking payment buttons
- Coupon fields that are hard to find
Desktop testing is useful, but it can give you a false sense of security. A checkout that works beautifully on a large monitor can still be painful on a phone.
Test Discounts, Coupons, and Gift Cards
Promotions are another common source of checkout mistakes.
Test each active coupon before promoting it. Check spelling, expiry, minimum order rules, product restrictions, usage limits, and whether it can stack with other discounts.
For gift cards or store credit, confirm:
- The balance applies correctly
- Partial redemption works
- Tax is calculated correctly after discounts
- The remaining balance is shown clearly
- The customer receives the correct receipt
Do not launch a coupon campaign without testing it first. A broken coupon creates support headaches. An overly generous coupon can create a very different kind of headache.
Test Order Statuses and Admin Workflow
The customer-facing side is only half the checkout. Your staff also need to receive, process, and fulfill the order.
After placing a test order, log into WordPress and check the order in the admin area.
Confirm:
- The order appears quickly
- The payment status is correct
- The customer details are complete
- Internal notes or special instructions are visible
- The order can be marked completed, processing, refunded, or cancelled as needed
- Inventory changes correctly
- Staff can print, export, or view the order if required
If your team uses tablets, receipt printers, POS integrations, kitchen screens, or third-party fulfillment tools, test those too. The website may be working, but the handoff to operations may not be.
Check Privacy and Customer Data Handling
Checkout pages collect personal information. In Canada, that means you should be thinking about privacy, not just convenience.
Your checkout may collect names, phone numbers, emails, addresses, order history, and sometimes sensitive notes. Make sure you only collect what you actually need.
Good privacy habits include:
- Using HTTPS across the entire checkout
- Keeping WordPress, plugins, and themes updated
- Limiting who can access order data
- Using strong admin passwords and two-factor authentication
- Keeping your privacy policy accurate
- Avoiding unnecessary checkout fields
- Deleting or anonymizing old data when appropriate for your business
PIPEDA may apply depending on your business and how you collect, use, or disclose personal information. If you are unsure, speak with a qualified privacy professional or legal advisor.
When to Run Checkout Tests
Checkout testing should happen on a schedule and after any meaningful change.
A practical testing schedule looks like this:
- Weekly: Quick test of cart, checkout page, and order notification emails
- Monthly: Full test order, including payment, taxes, delivery or shipping, and mobile checkout
- Before promotions: Test coupons, landing pages, featured products, and payment flow
- After plugin updates: Test the full checkout before assuming everything is fine
- After payment gateway changes: Run both sandbox and live checks where appropriate
- Before busy seasons: Test capacity, delivery rules, staff notifications, and backups
If your online ordering is a major revenue channel, monthly testing may not be enough. Restaurants, busy WooCommerce stores, and appointment-based businesses should test more often, especially after updates.
When Not to Test on the Live Site
There are times when live testing is a bad idea.
Avoid live checkout testing:
- During lunch or dinner rush for restaurants
- During major sales campaigns
- Right after making untested plugin changes
- When you do not have a fresh backup
- When your payment gateway is already showing errors
- When staff are not available to spot accidental real orders
If you need to test live, use a clearly labelled internal test product if appropriate, or place a small real order and refund it according to your payment provider’s process. Keep notes so your bookkeeper or accountant understands what happened.
Keep a Checkout Testing Log
A simple testing log saves time. You do not need fancy software. A shared spreadsheet or document is usually enough.
Track:
- Date of test
- Who tested
- Device used
- Browser used
- Payment method tested
- Product or menu item tested
- Coupon used, if any
- Order number
- Result
- Issues found
- Fix applied
This gives you a history of what was checked and helps avoid guessing when something breaks later.
What to Do If Checkout Fails
If your checkout fails during testing, do not start randomly disabling plugins on the live site. That can make things worse.
Work carefully:
- Take screenshots of the error.
- Write down the exact steps that caused the issue.
- Check whether the issue happens on mobile, desktop, or both.
- Check whether it affects one product or every product.
- Confirm whether payments are failing in WordPress, the gateway dashboard, or both.
- Review recent updates or setting changes.
- Test safely on staging if plugin conflict troubleshooting is needed.
If the issue affects real customers, consider temporarily posting a clear message on the site with an alternate ordering method, such as phone ordering, email, or in-person payment. This is not ideal, but silence is worse.
Watch for Caching and Security Conflicts
Performance and security tools are good, but they need to be configured properly around checkout pages.
Caching plugins, CDN settings, firewall rules, bot protection, and JavaScript optimization can sometimes interfere with carts, payment fields, or session data.
If checkout issues appear after speed optimization, minification, CDN changes, or firewall changes, look there early. Do not assume the payment gateway is the problem.
Common fixes may include excluding cart and checkout pages from cache, excluding payment scripts from JavaScript delay settings, or adjusting firewall rules. The exact steps depend on your plugins and hosting setup, so use the official documentation or ask your hosting provider before making risky changes.
What Ambrite Can Help With
If you would rather not manage checkout testing yourself, Ambrite offers WordPress maintenance plans for Canadian small businesses, with plans starting from $49/month CAD.
For stores and ordering sites, maintenance can include daily updates, daily backups, security monitoring, uptime monitoring, and help spotting issues before they become expensive.
Ambrite also provides Canadian cloud web hosting with LiteSpeed, NVMe SSD storage, and Imunify360, starting at $7.99/month CAD. Fast, stable hosting will not fix a badly configured checkout by itself, but it does give your ordering system a better foundation.
If your checkout is failing, acting strangely, or you are nervous about testing after updates, you can contact Ambrite and we can take a closer look.
Quick Checkout Testing Checklist
Use this as a simple monthly checklist:
- Add a product or menu item to cart
- Test modifiers, variations, or add-ons
- Update quantities in the cart
- Test guest checkout
- Test required fields and error messages
- Check taxes for the right location
- Check pickup, delivery, or shipping options
- Apply an active coupon
- Complete a payment test safely
- Confirm order appears in WordPress
- Confirm customer email arrives
- Confirm admin or staff notification arrives
- Test on mobile
- Record the result in your testing log
A checkout test does not need to take all afternoon. Once you have a routine, a basic check can be done quickly. The key is doing it before customers are the ones discovering the problem.
This article was written with the help of AI and reviewed by Ambrite. Pricing, features, and technical details may change. Always verify with official sources before making decisions.
Was this article useful?
Related Articles
Your WordPress site loads in 8 seconds on mobile. Meanwhile, your competitor's site loads in 2...
Running a restaurant in 2026 means juggling a thousand things at once. Your WordPress site...
Your WordPress site has 47 active plugins and takes 8 seconds to load. Sound familiar? Plugin...
Your real estate website is more than just a digital business card: it's a 24/7 sales machine...
Your staff page hasn't been updated since Jessica left in 2022, and your services page still...
